User Tools
This is an old revision of the document!
Table of Contents
Cabling Documentation
Router Box
The ethernet connector is labeled 1-8 from left to right when looking at the pin side of the connector. The Seacon connector is numbered counter-clockwise starting from the “centered” pin.
| Seacon Connector | Ethernet Connector | Ethernet Wire Color | Seacon Wire Color |
|---|---|---|---|
| 1 | 7 | Brown with stripe | Black |
| 2 | 1 | Orange with stripe | Red with stripe |
| 3 | 2 | Orange | White with stripe |
| 4 | 4 | Blue | Blue |
| 5 | 5 | Blue with stripe | Orange |
| 6 | 3 | Green with stripe | Green |
| 7 | 6 | Green | Red |
| 8 | 8 | Brown | White |
Cable Assembly
Suggested Supplies: 1. Ethernet Stripper 2. Box Cutter 3. Wire Cutters 4. 2 sizes of shrink wrap
   a. one for the individual wires
   b. one for the cable
5. Soldering Iron 6. Solder 7. Heat Gun
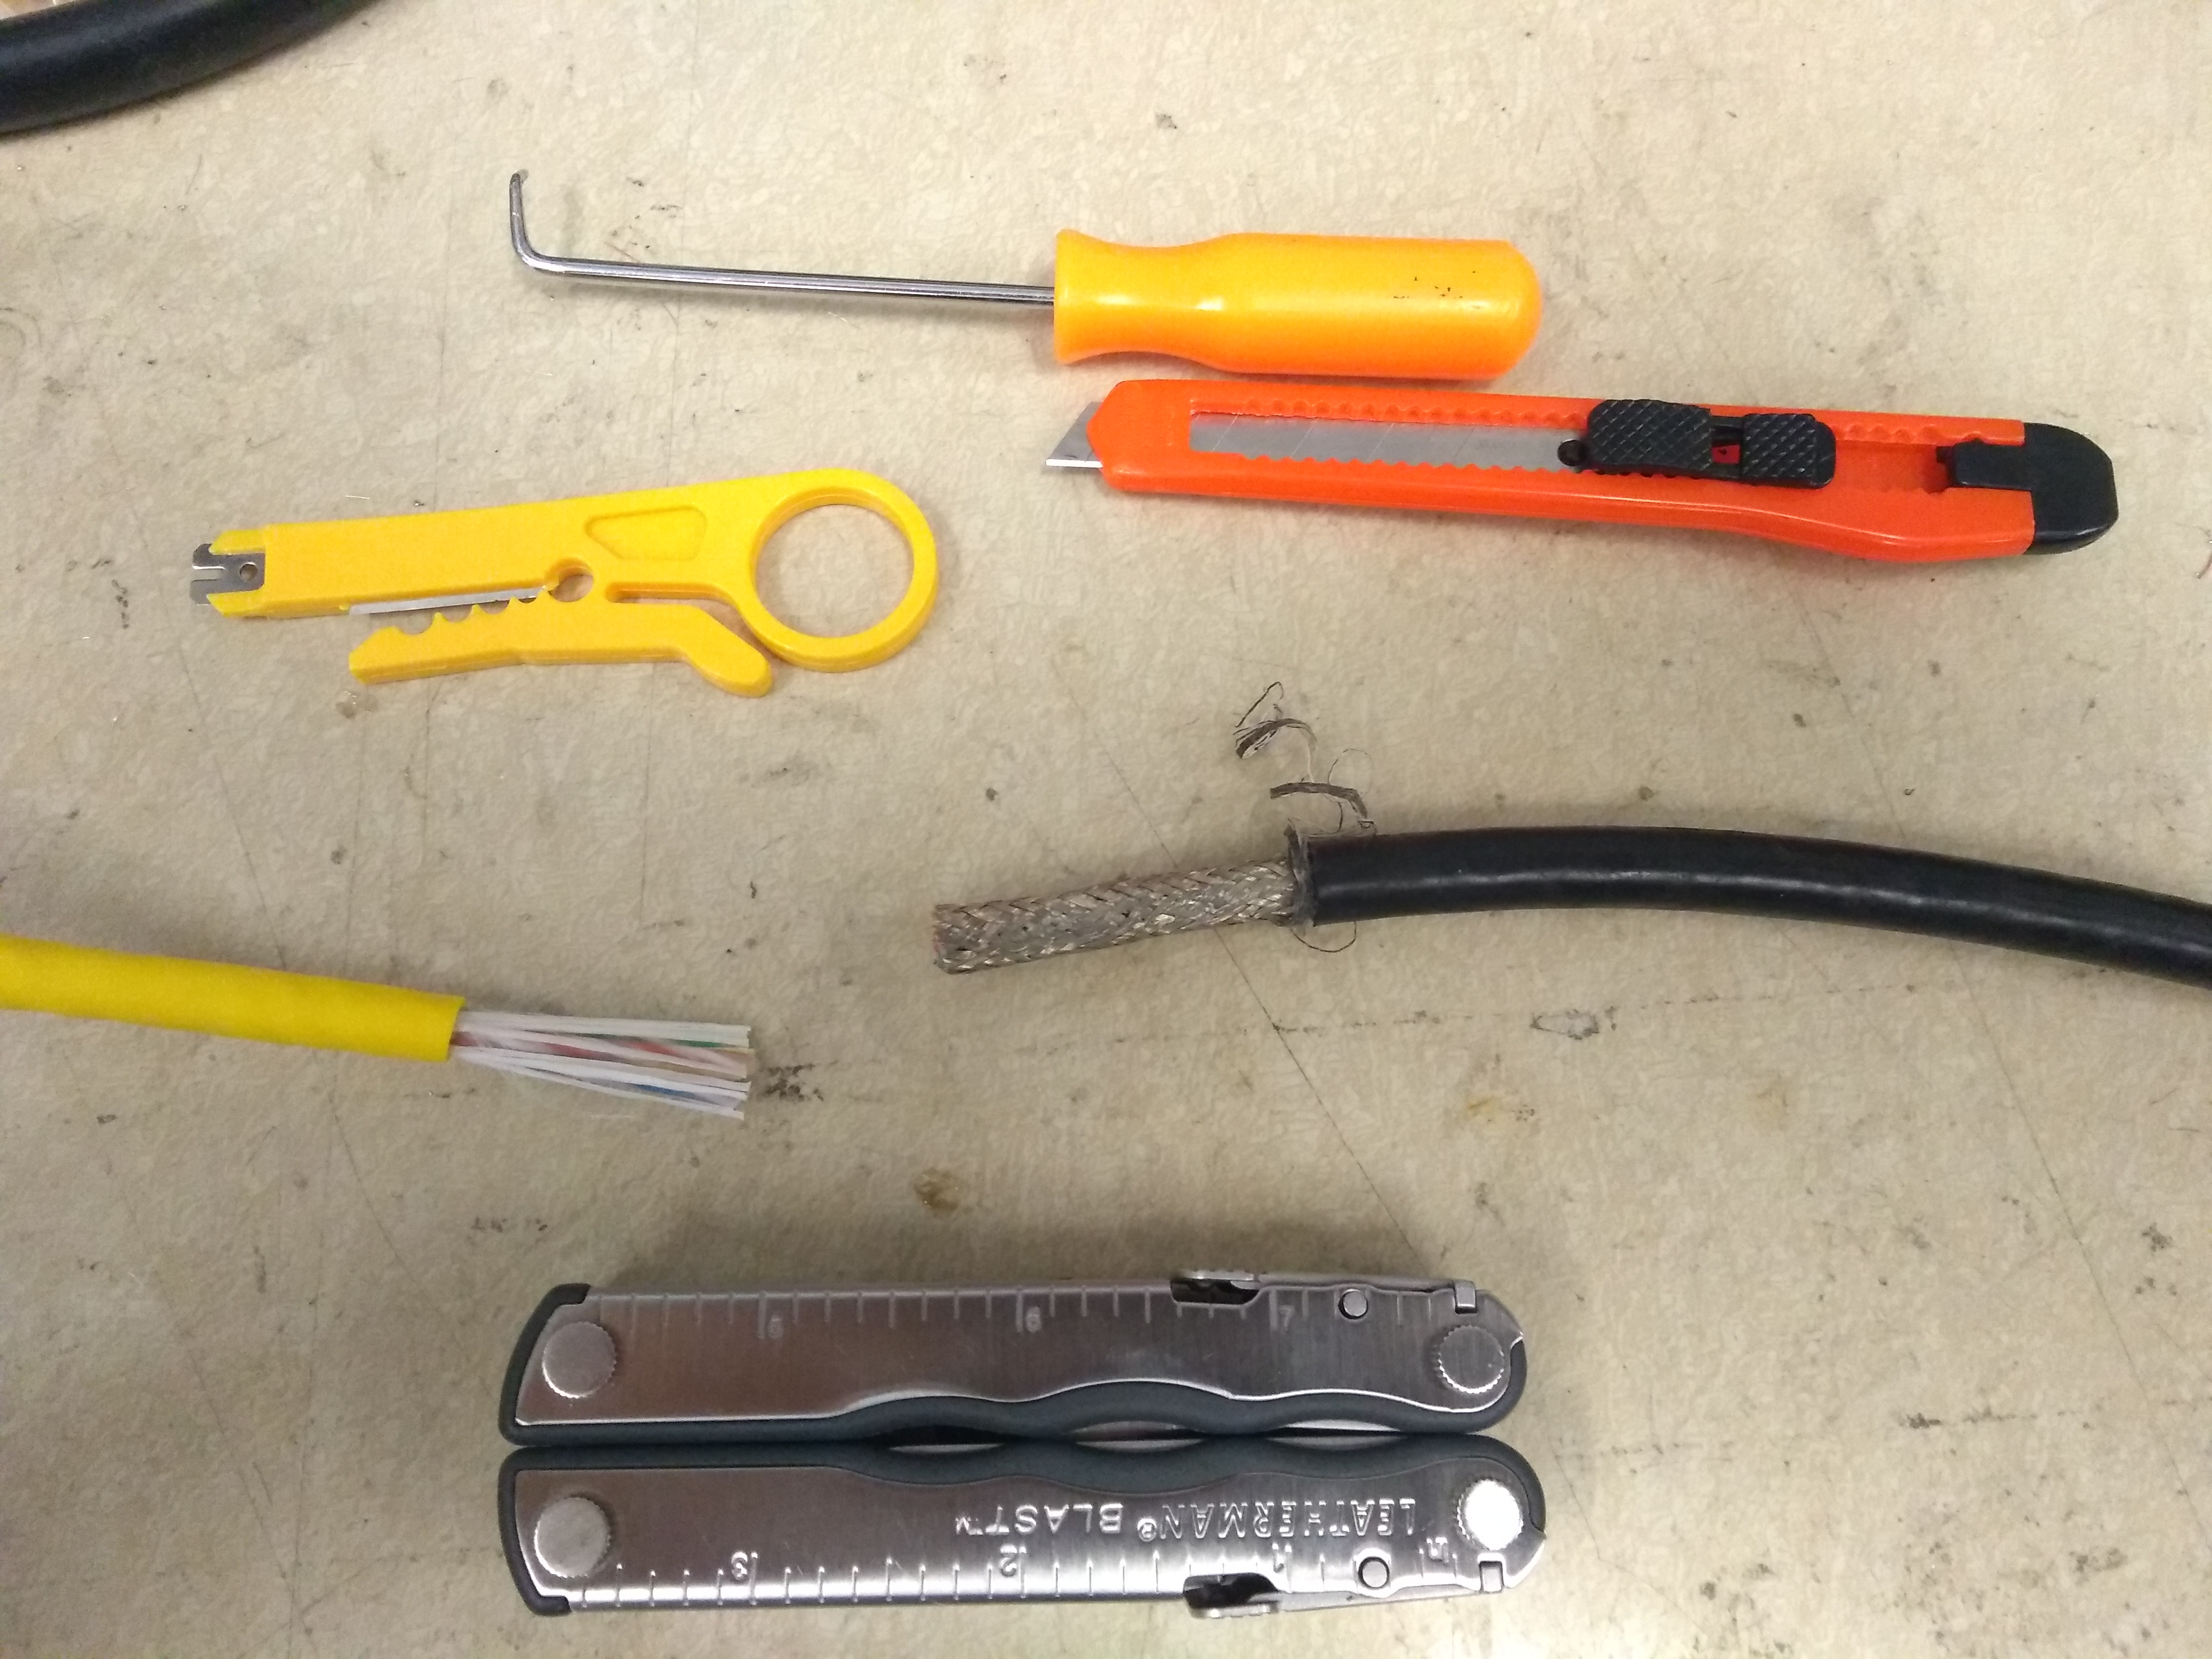
Remove the outer jackets of both cables
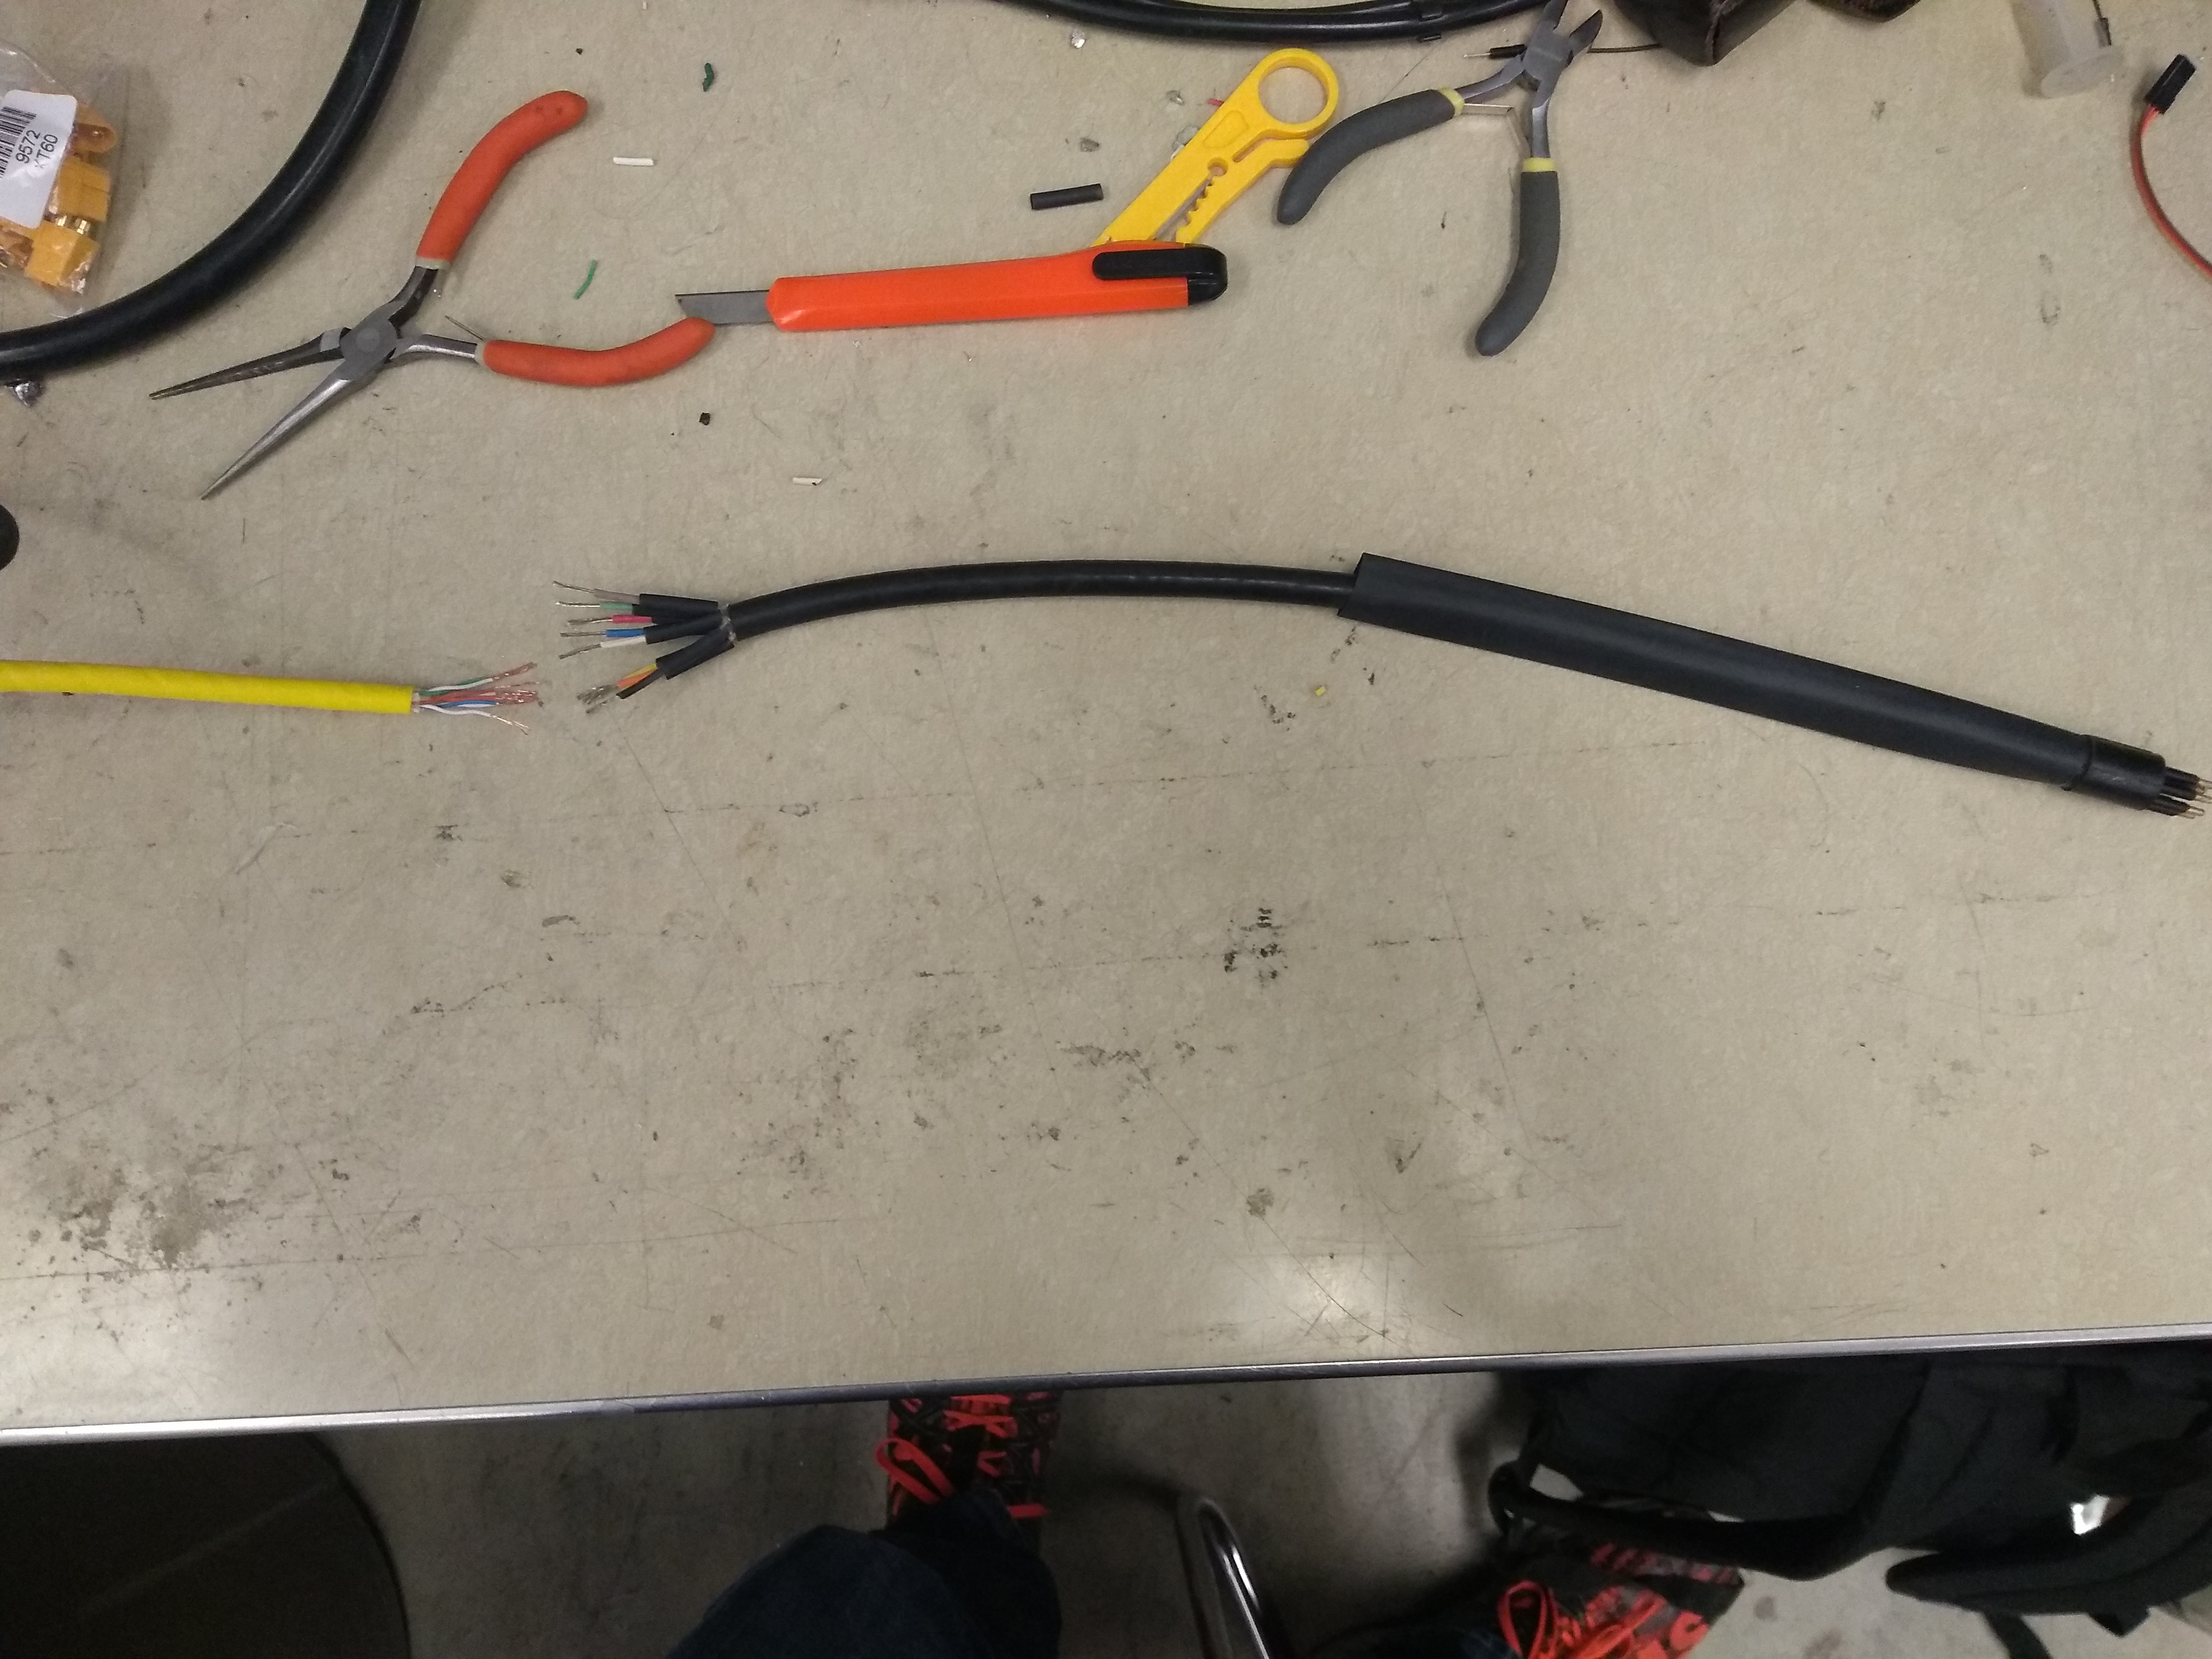
Strip the cables down to the bare wire and add all of the shrink wrap. If you don't add now you will have to come back to this step and add it again.
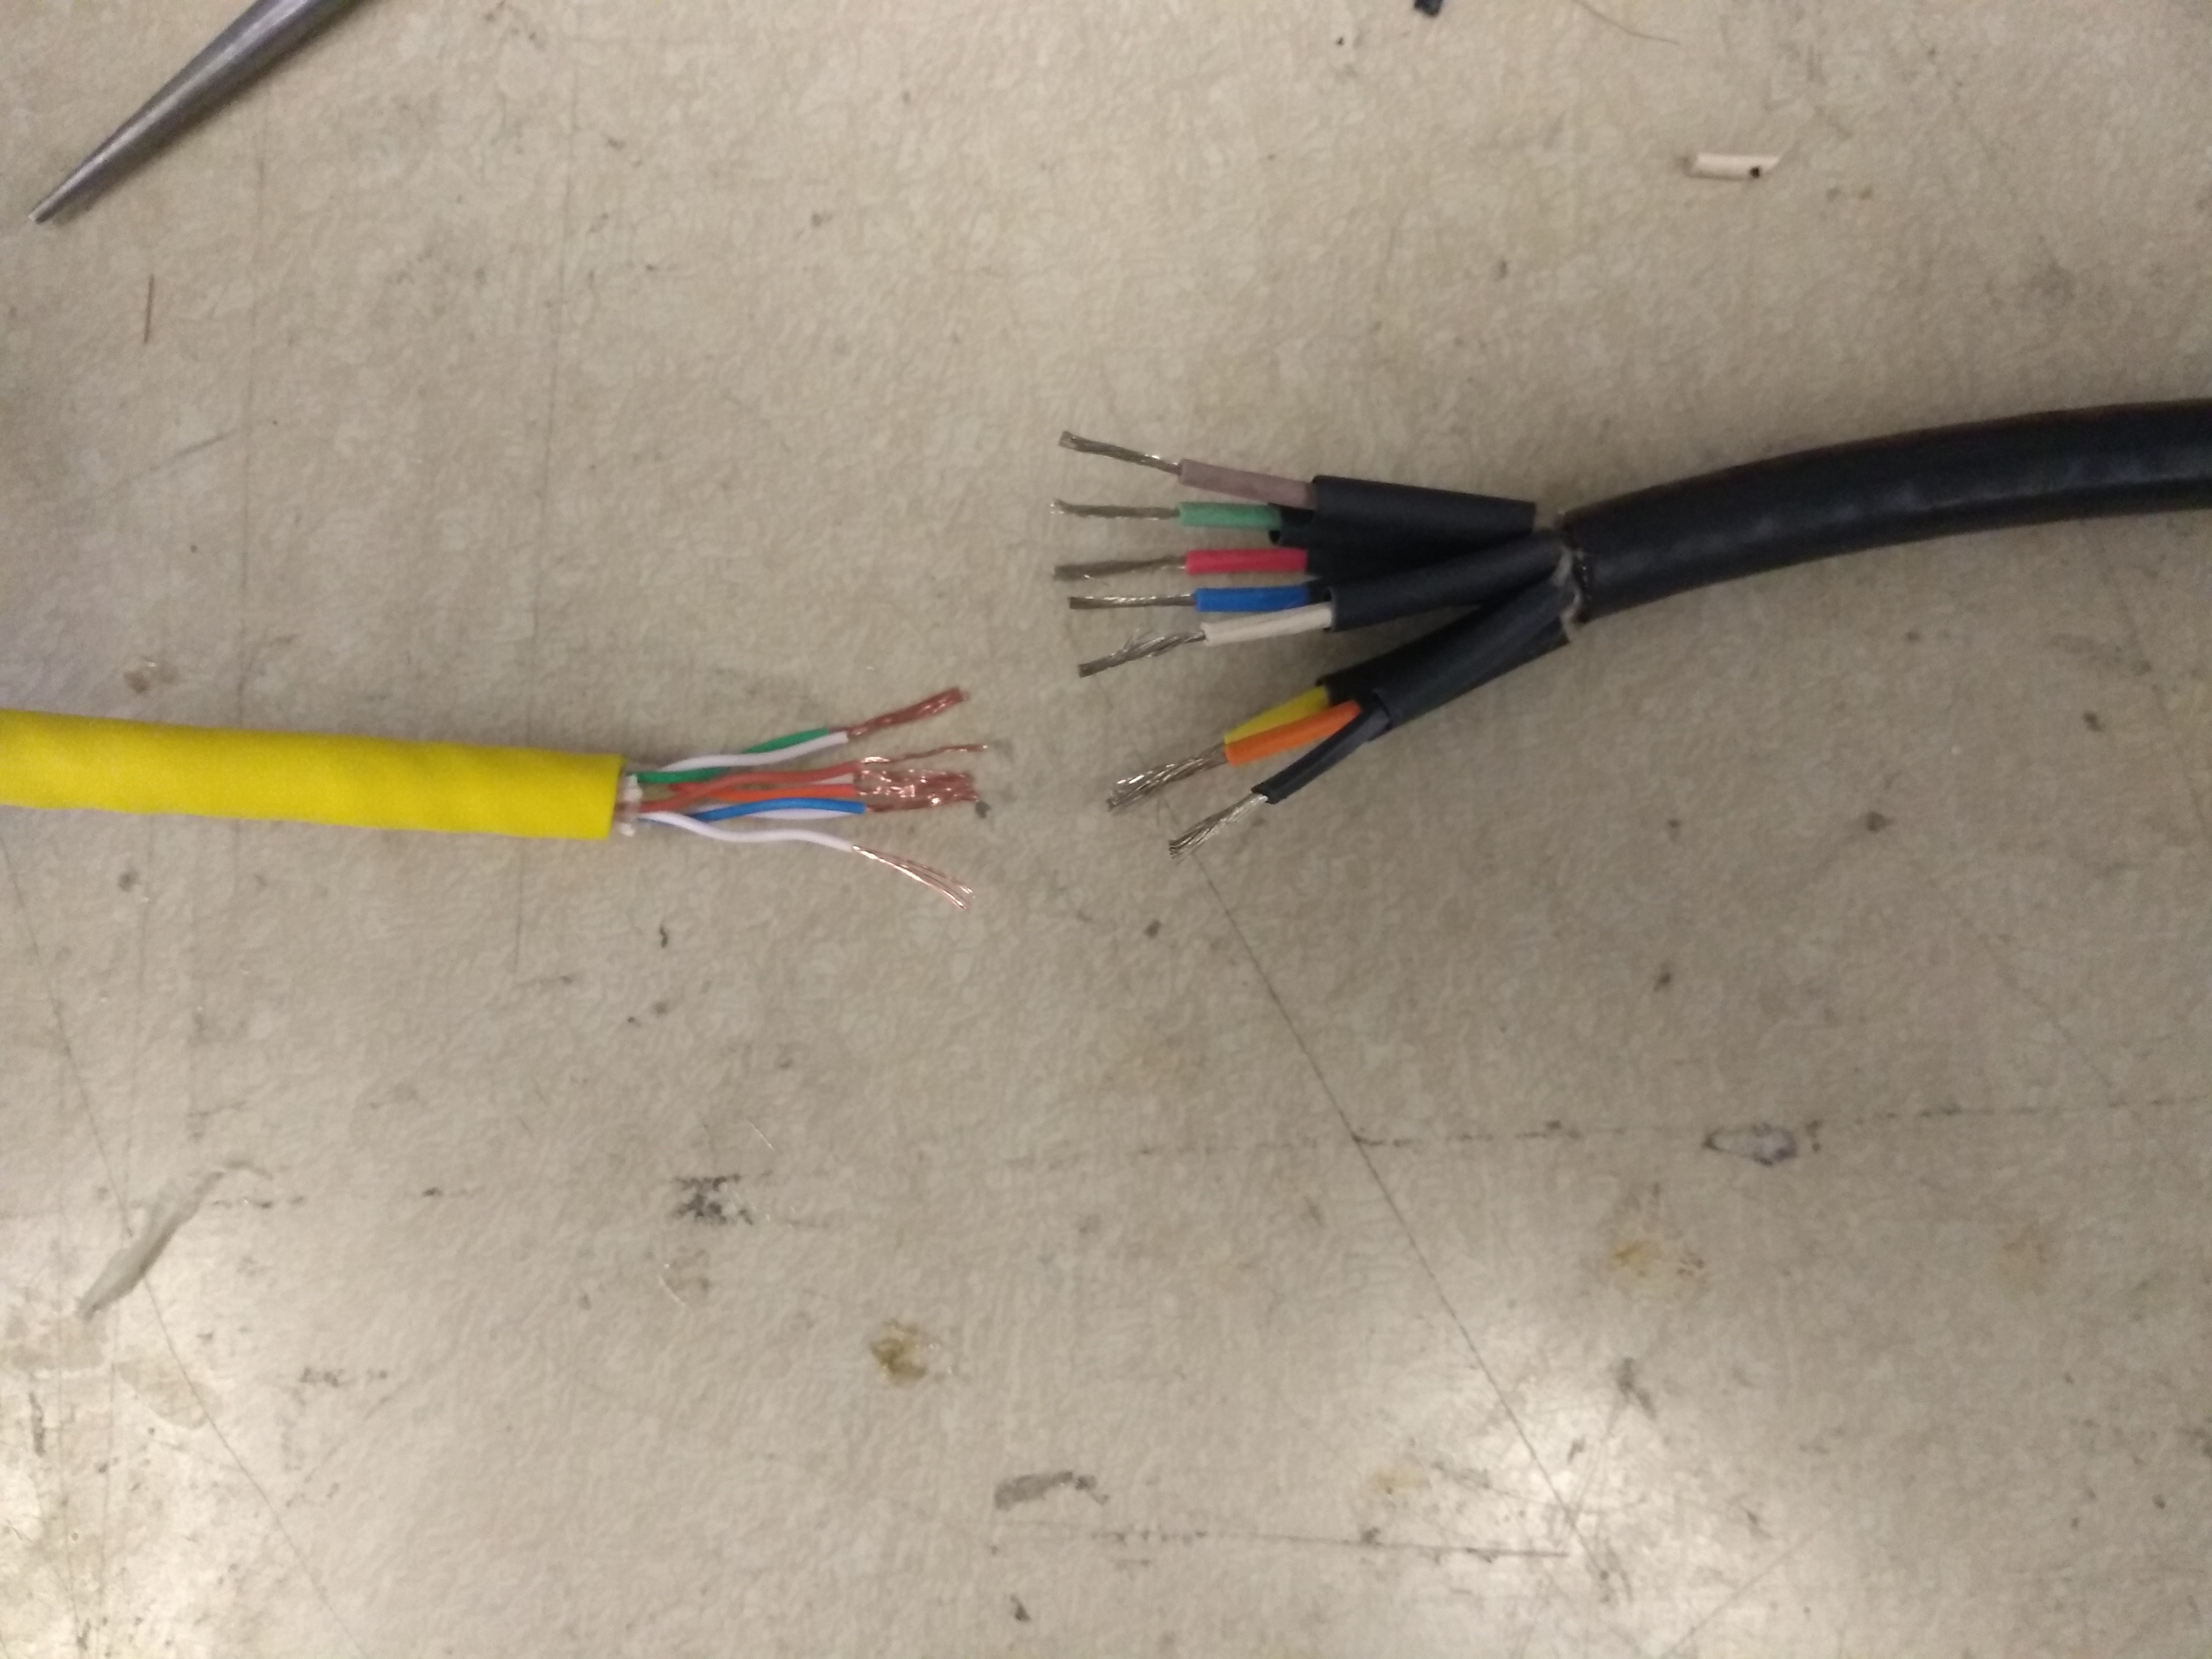
Make sure there is enough bare metal that there is enough length for each bare wire to wrap around each other. Also make sure the small heat shrink is long enough to cover the solder joint.
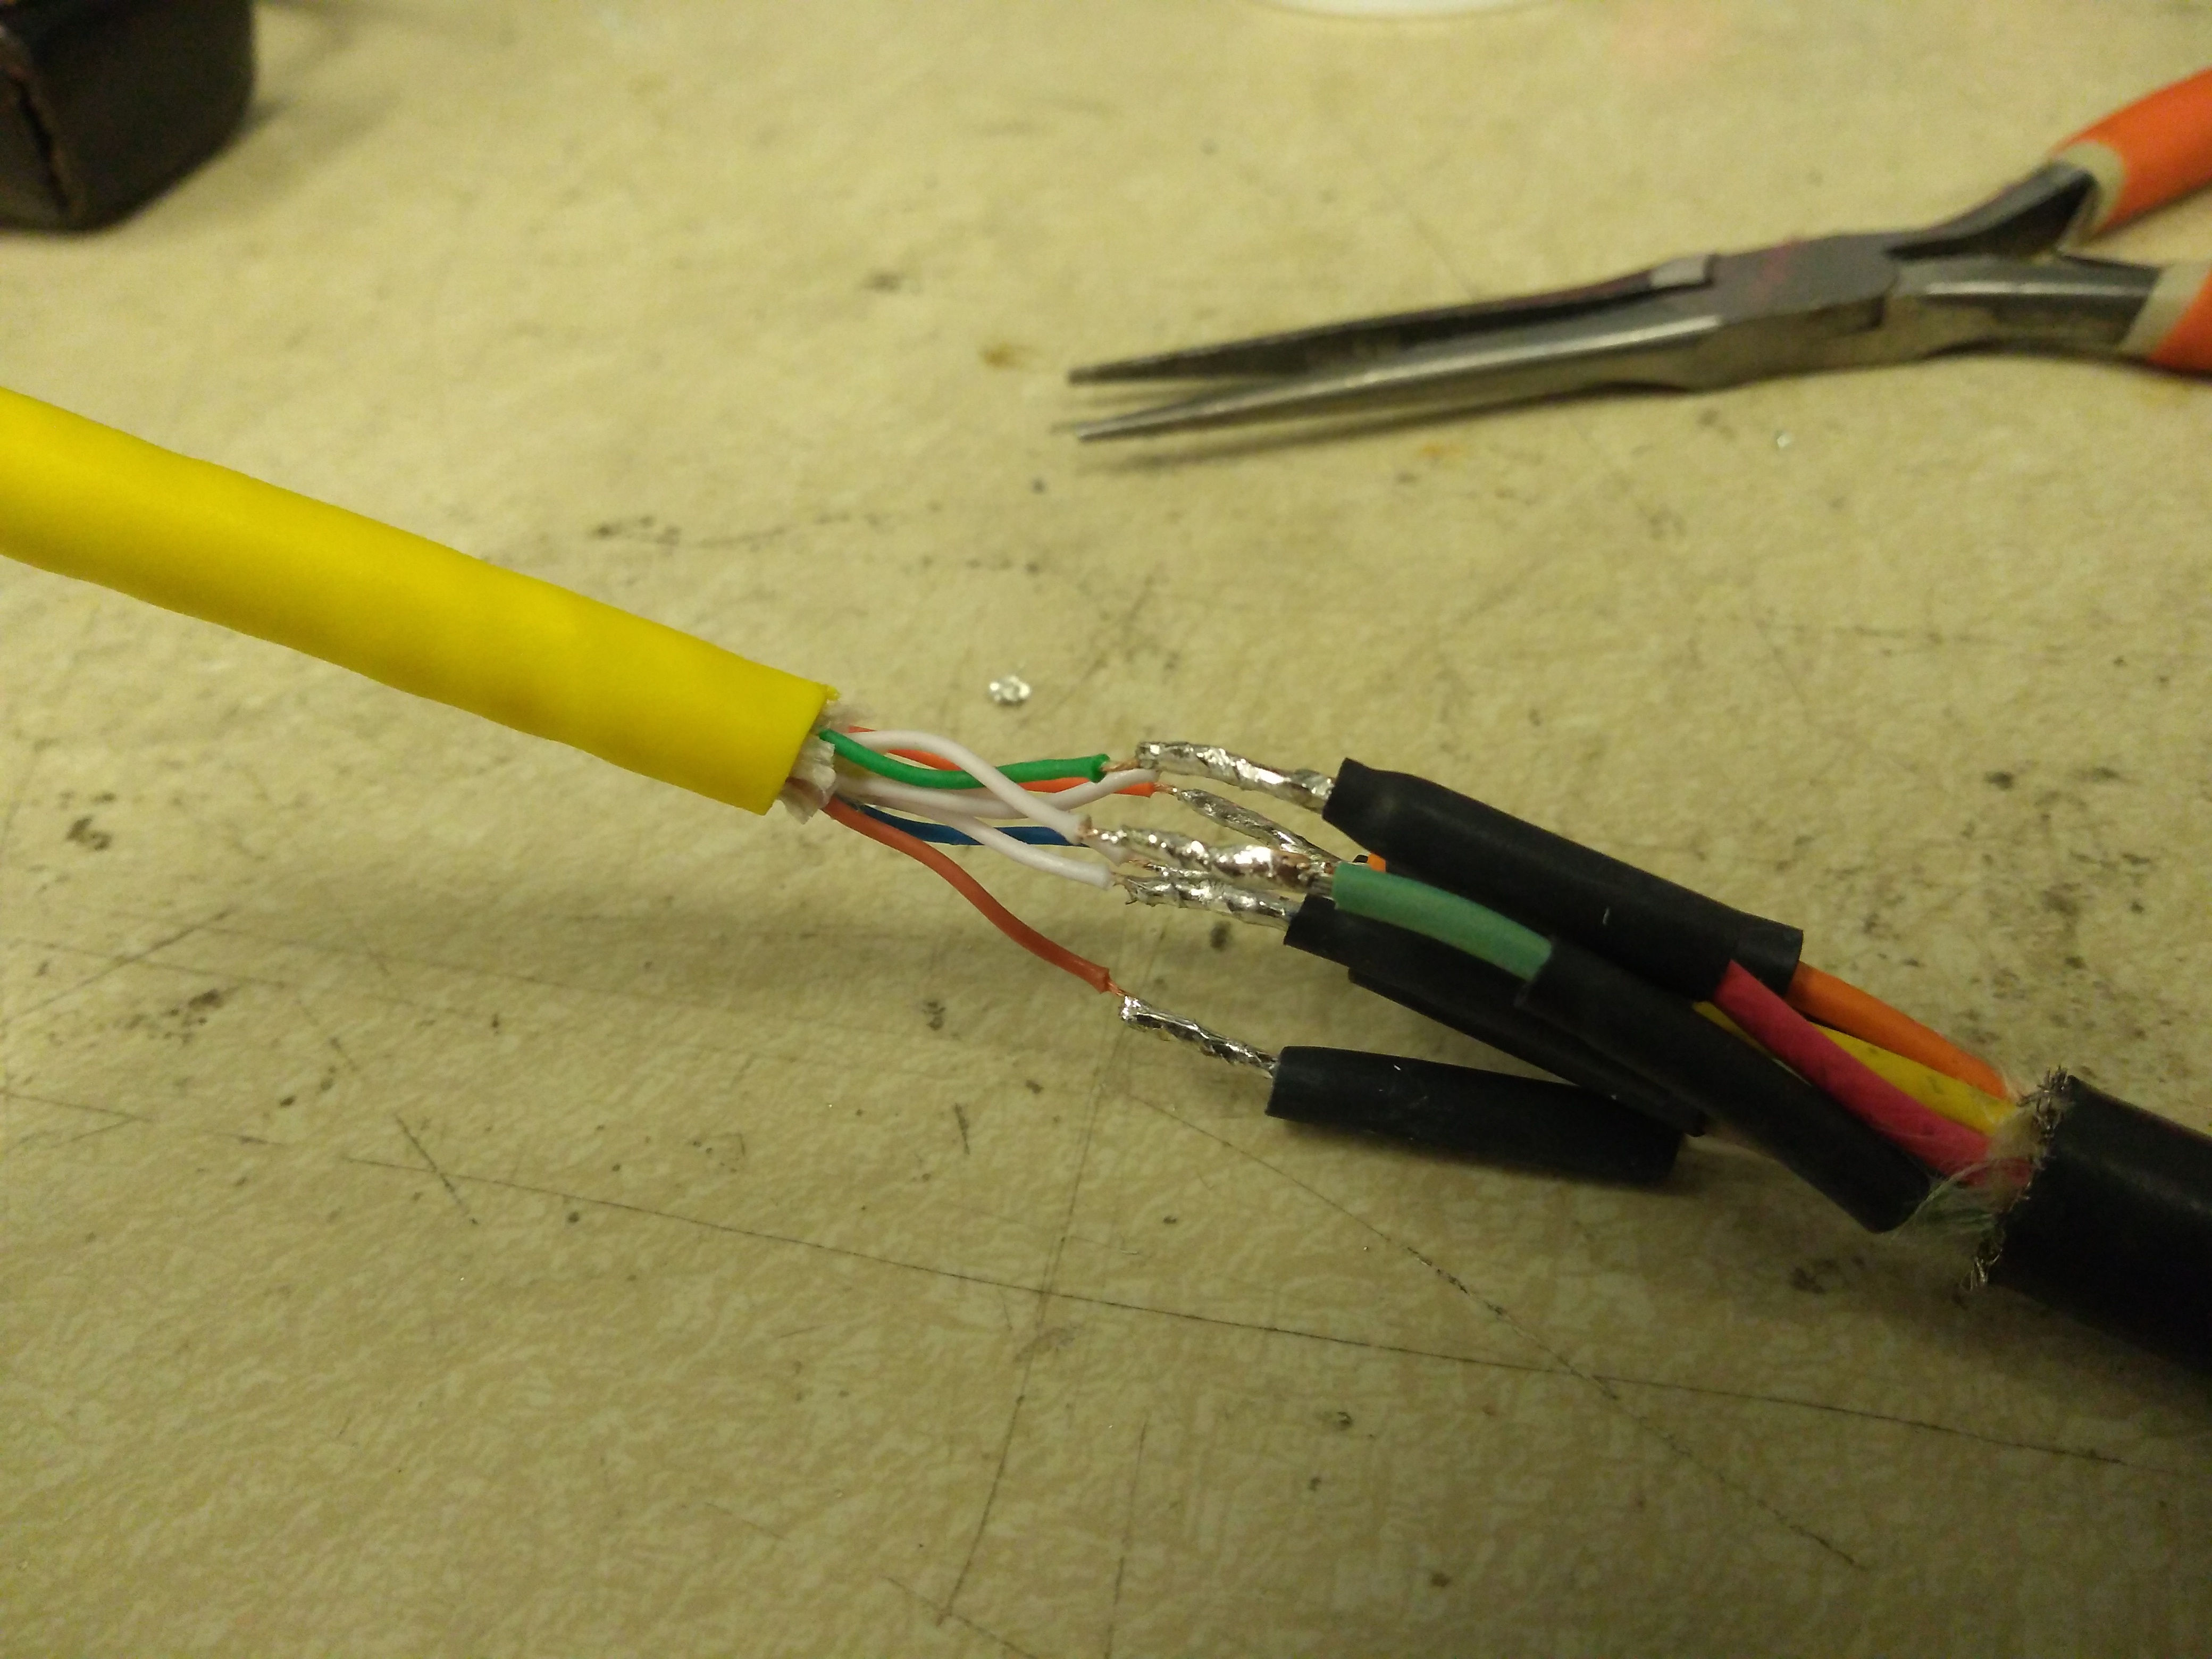
Solder the wires together. Make sure the heat shrink doesn't shrink too much in this stage from the soldering iron. Too much will render the heat shrink unusable.
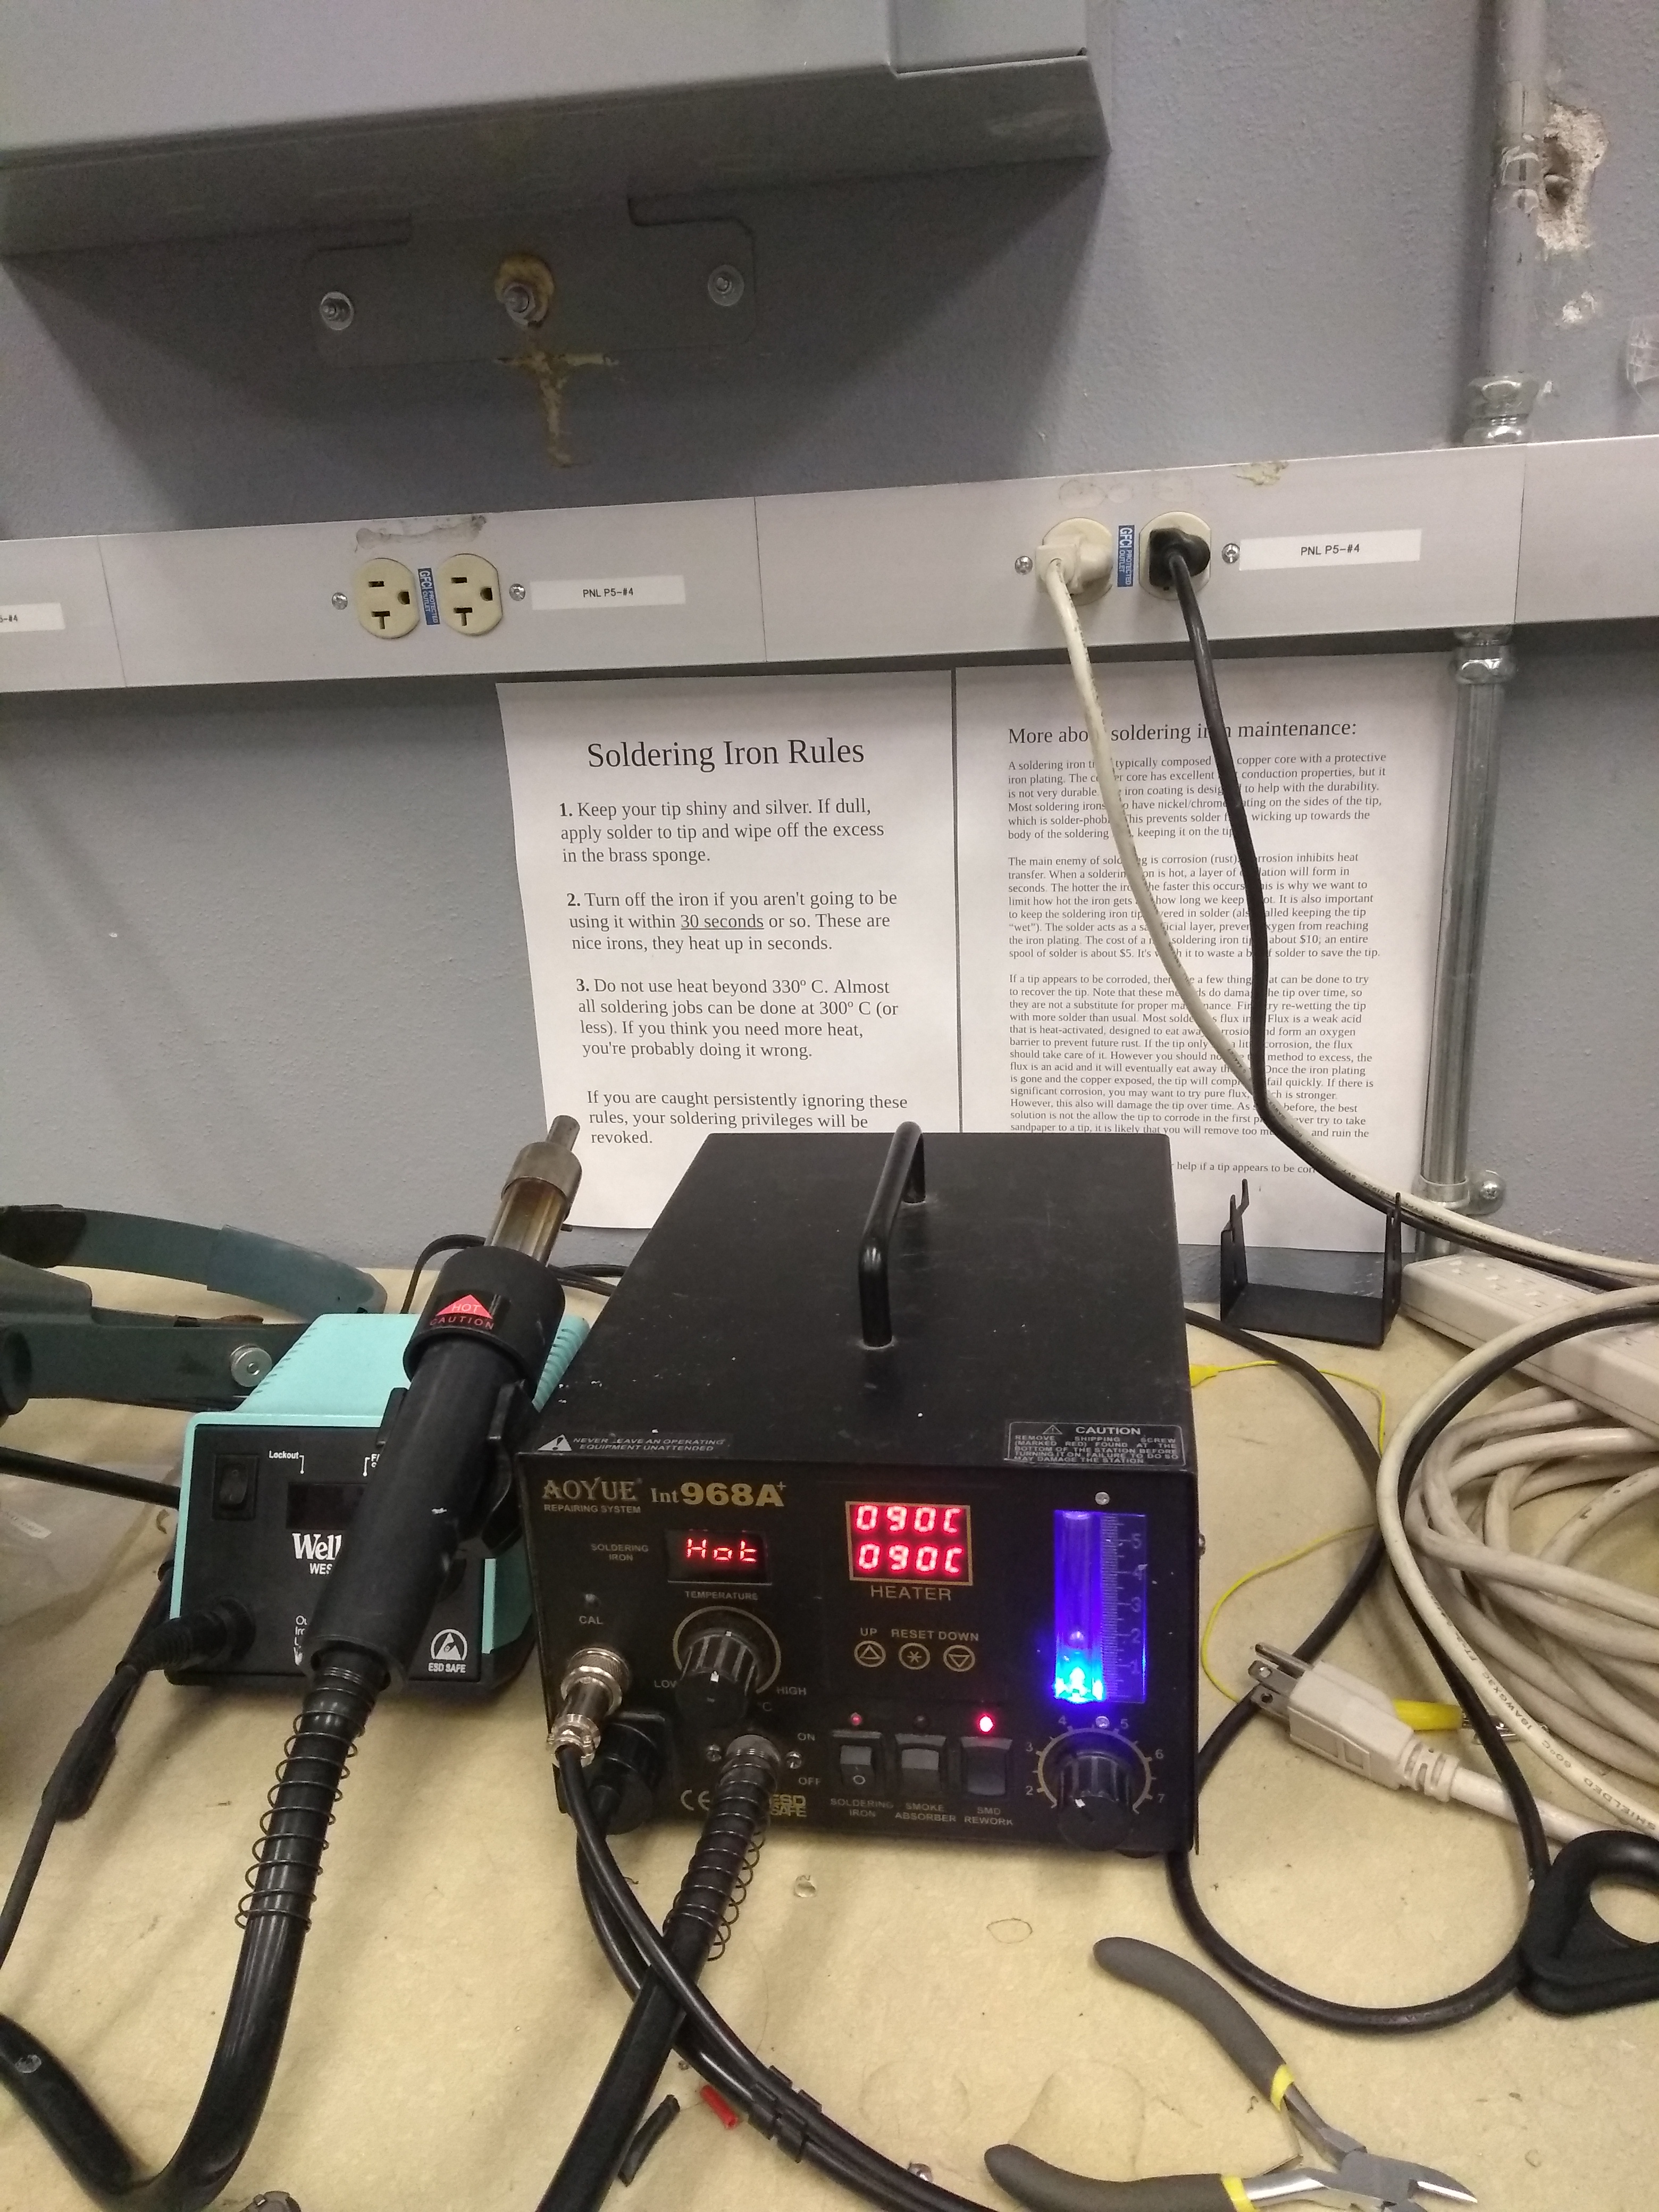
Heat up the heat gun to 90 degrees Celsius. Shrink all of the small heat shrink at the same time, over the solder joints (not pictured).
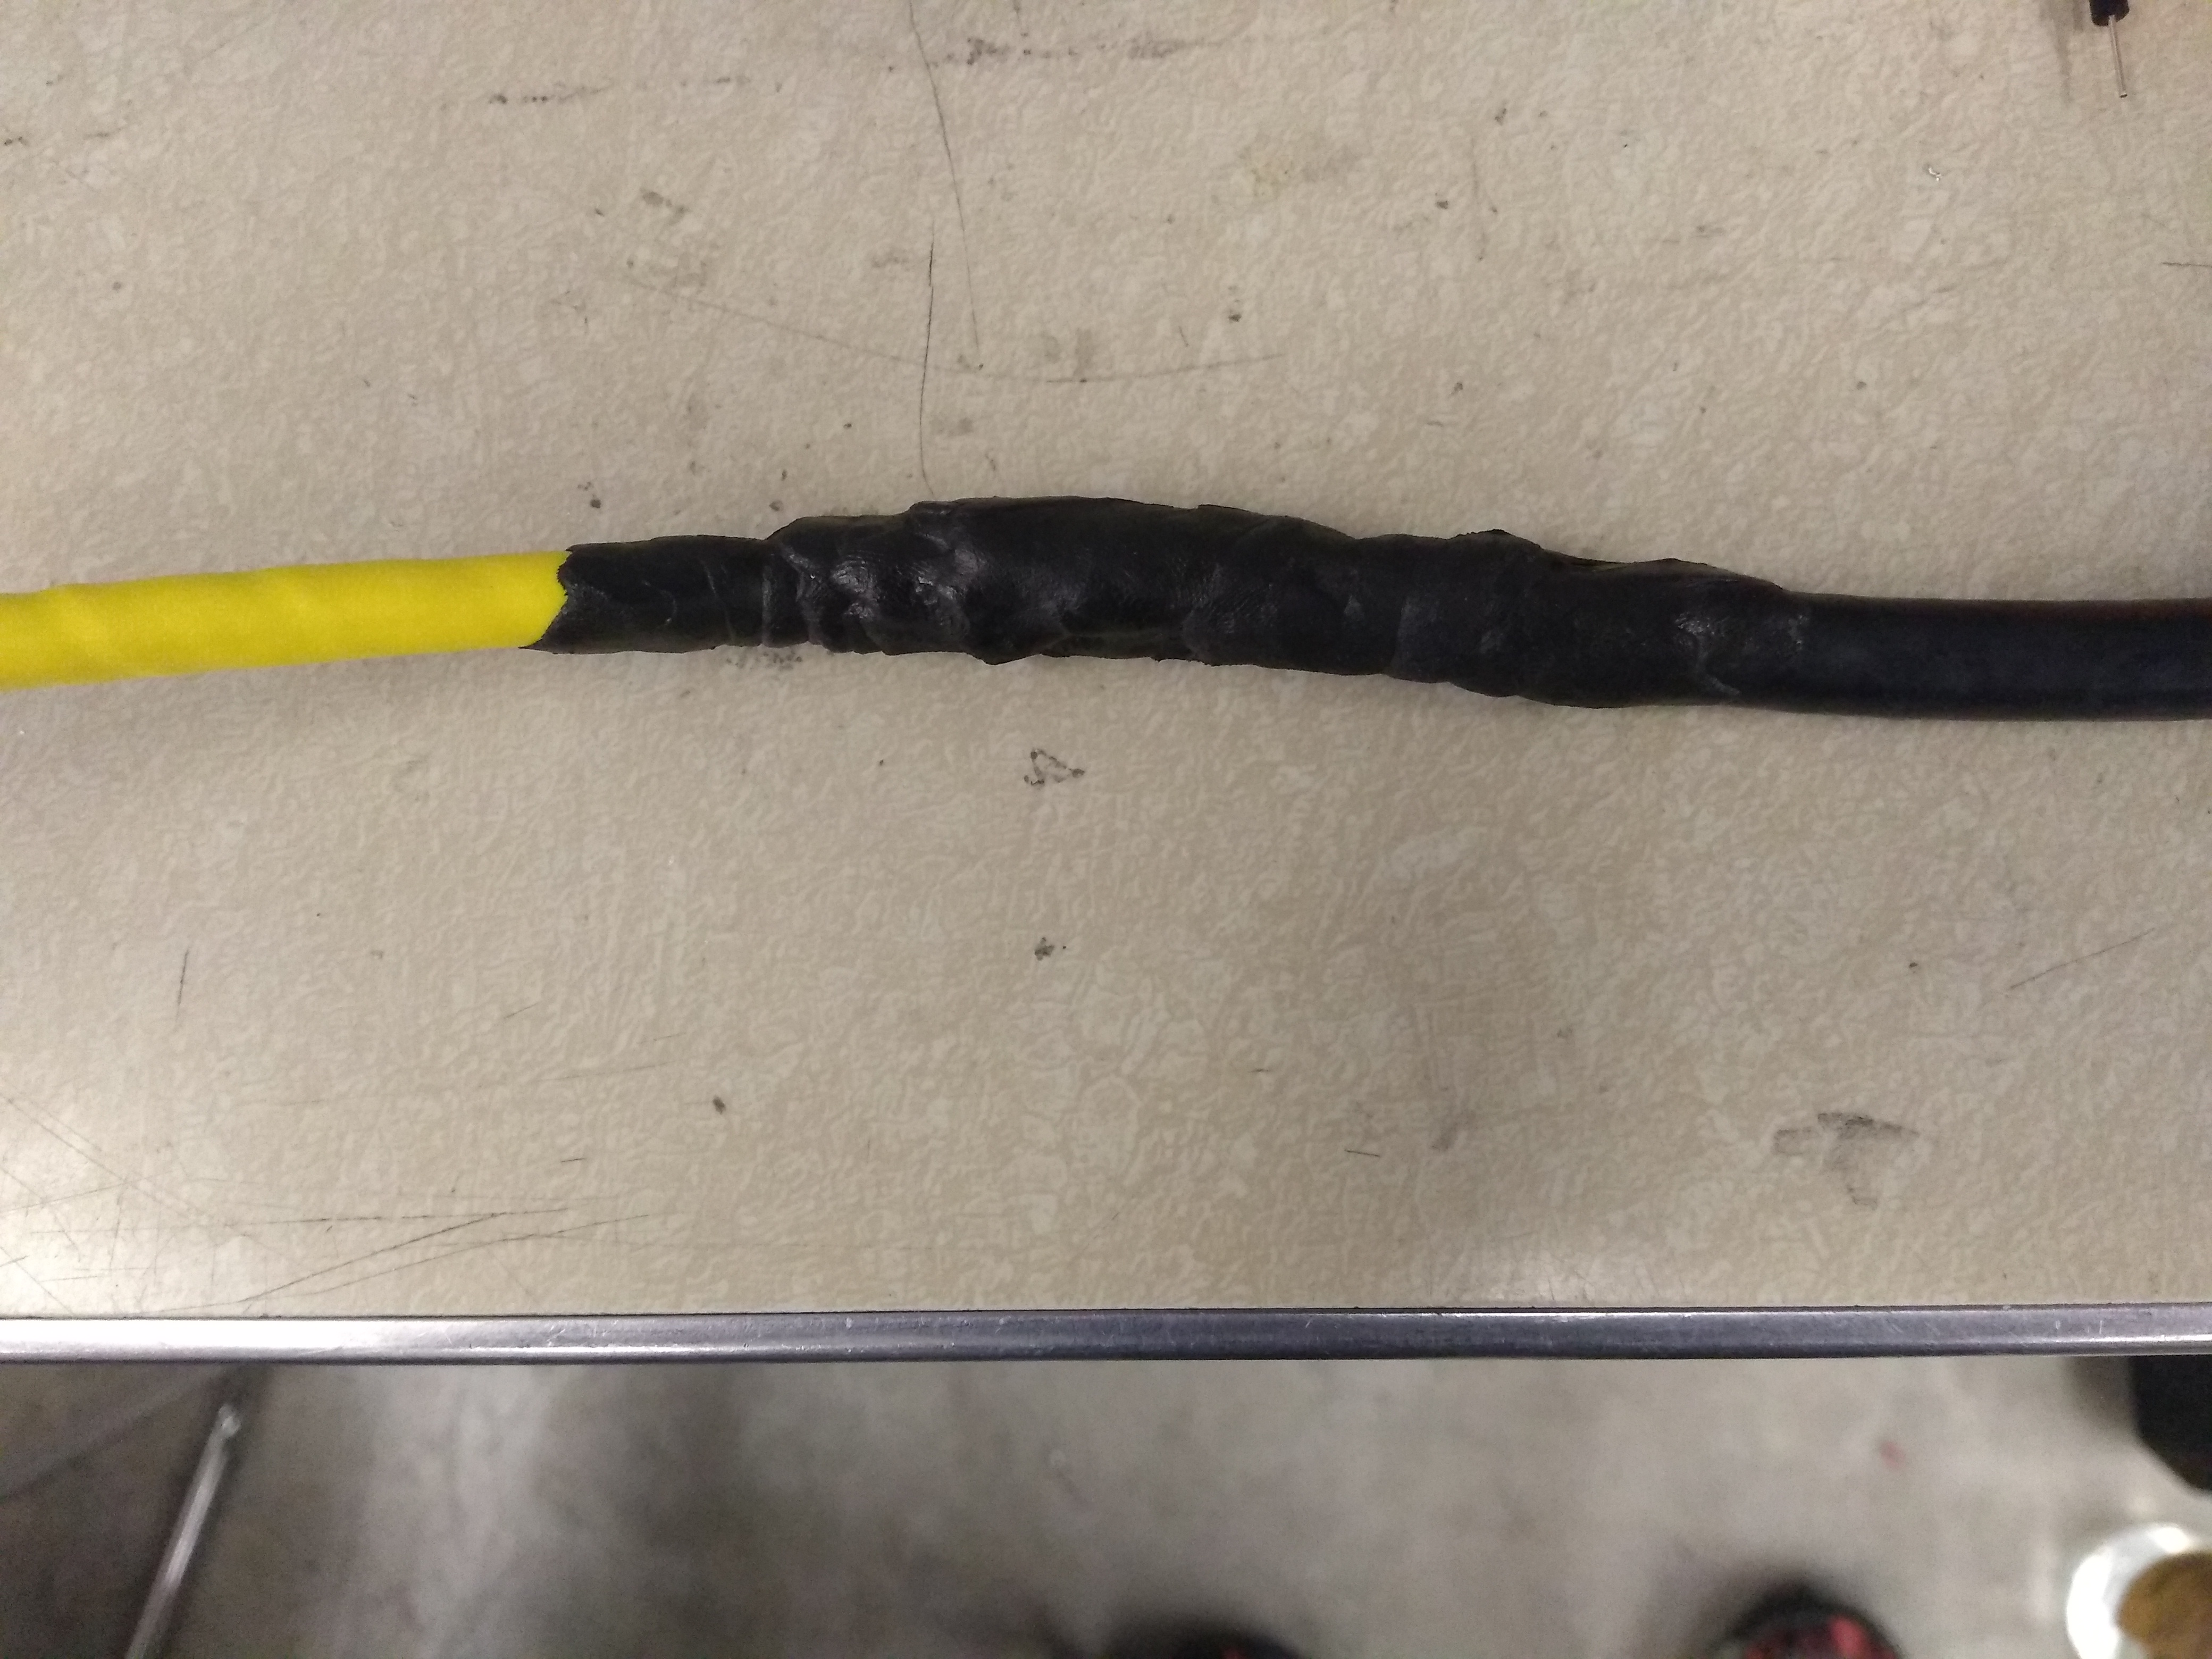
Cover the entire splice in 3M window weld. Make sure that there are no gaps. Try to make it thin enough that the larger heat shrink can fit over it after it is covered in electrical tape.
Wrap the splice in electrical tape. Start with a few wraps on one side, have the tape overlap half of itself as it winds up the splice and then end with a few wraps on the opposite side. Make sure the heat shrink is tight.
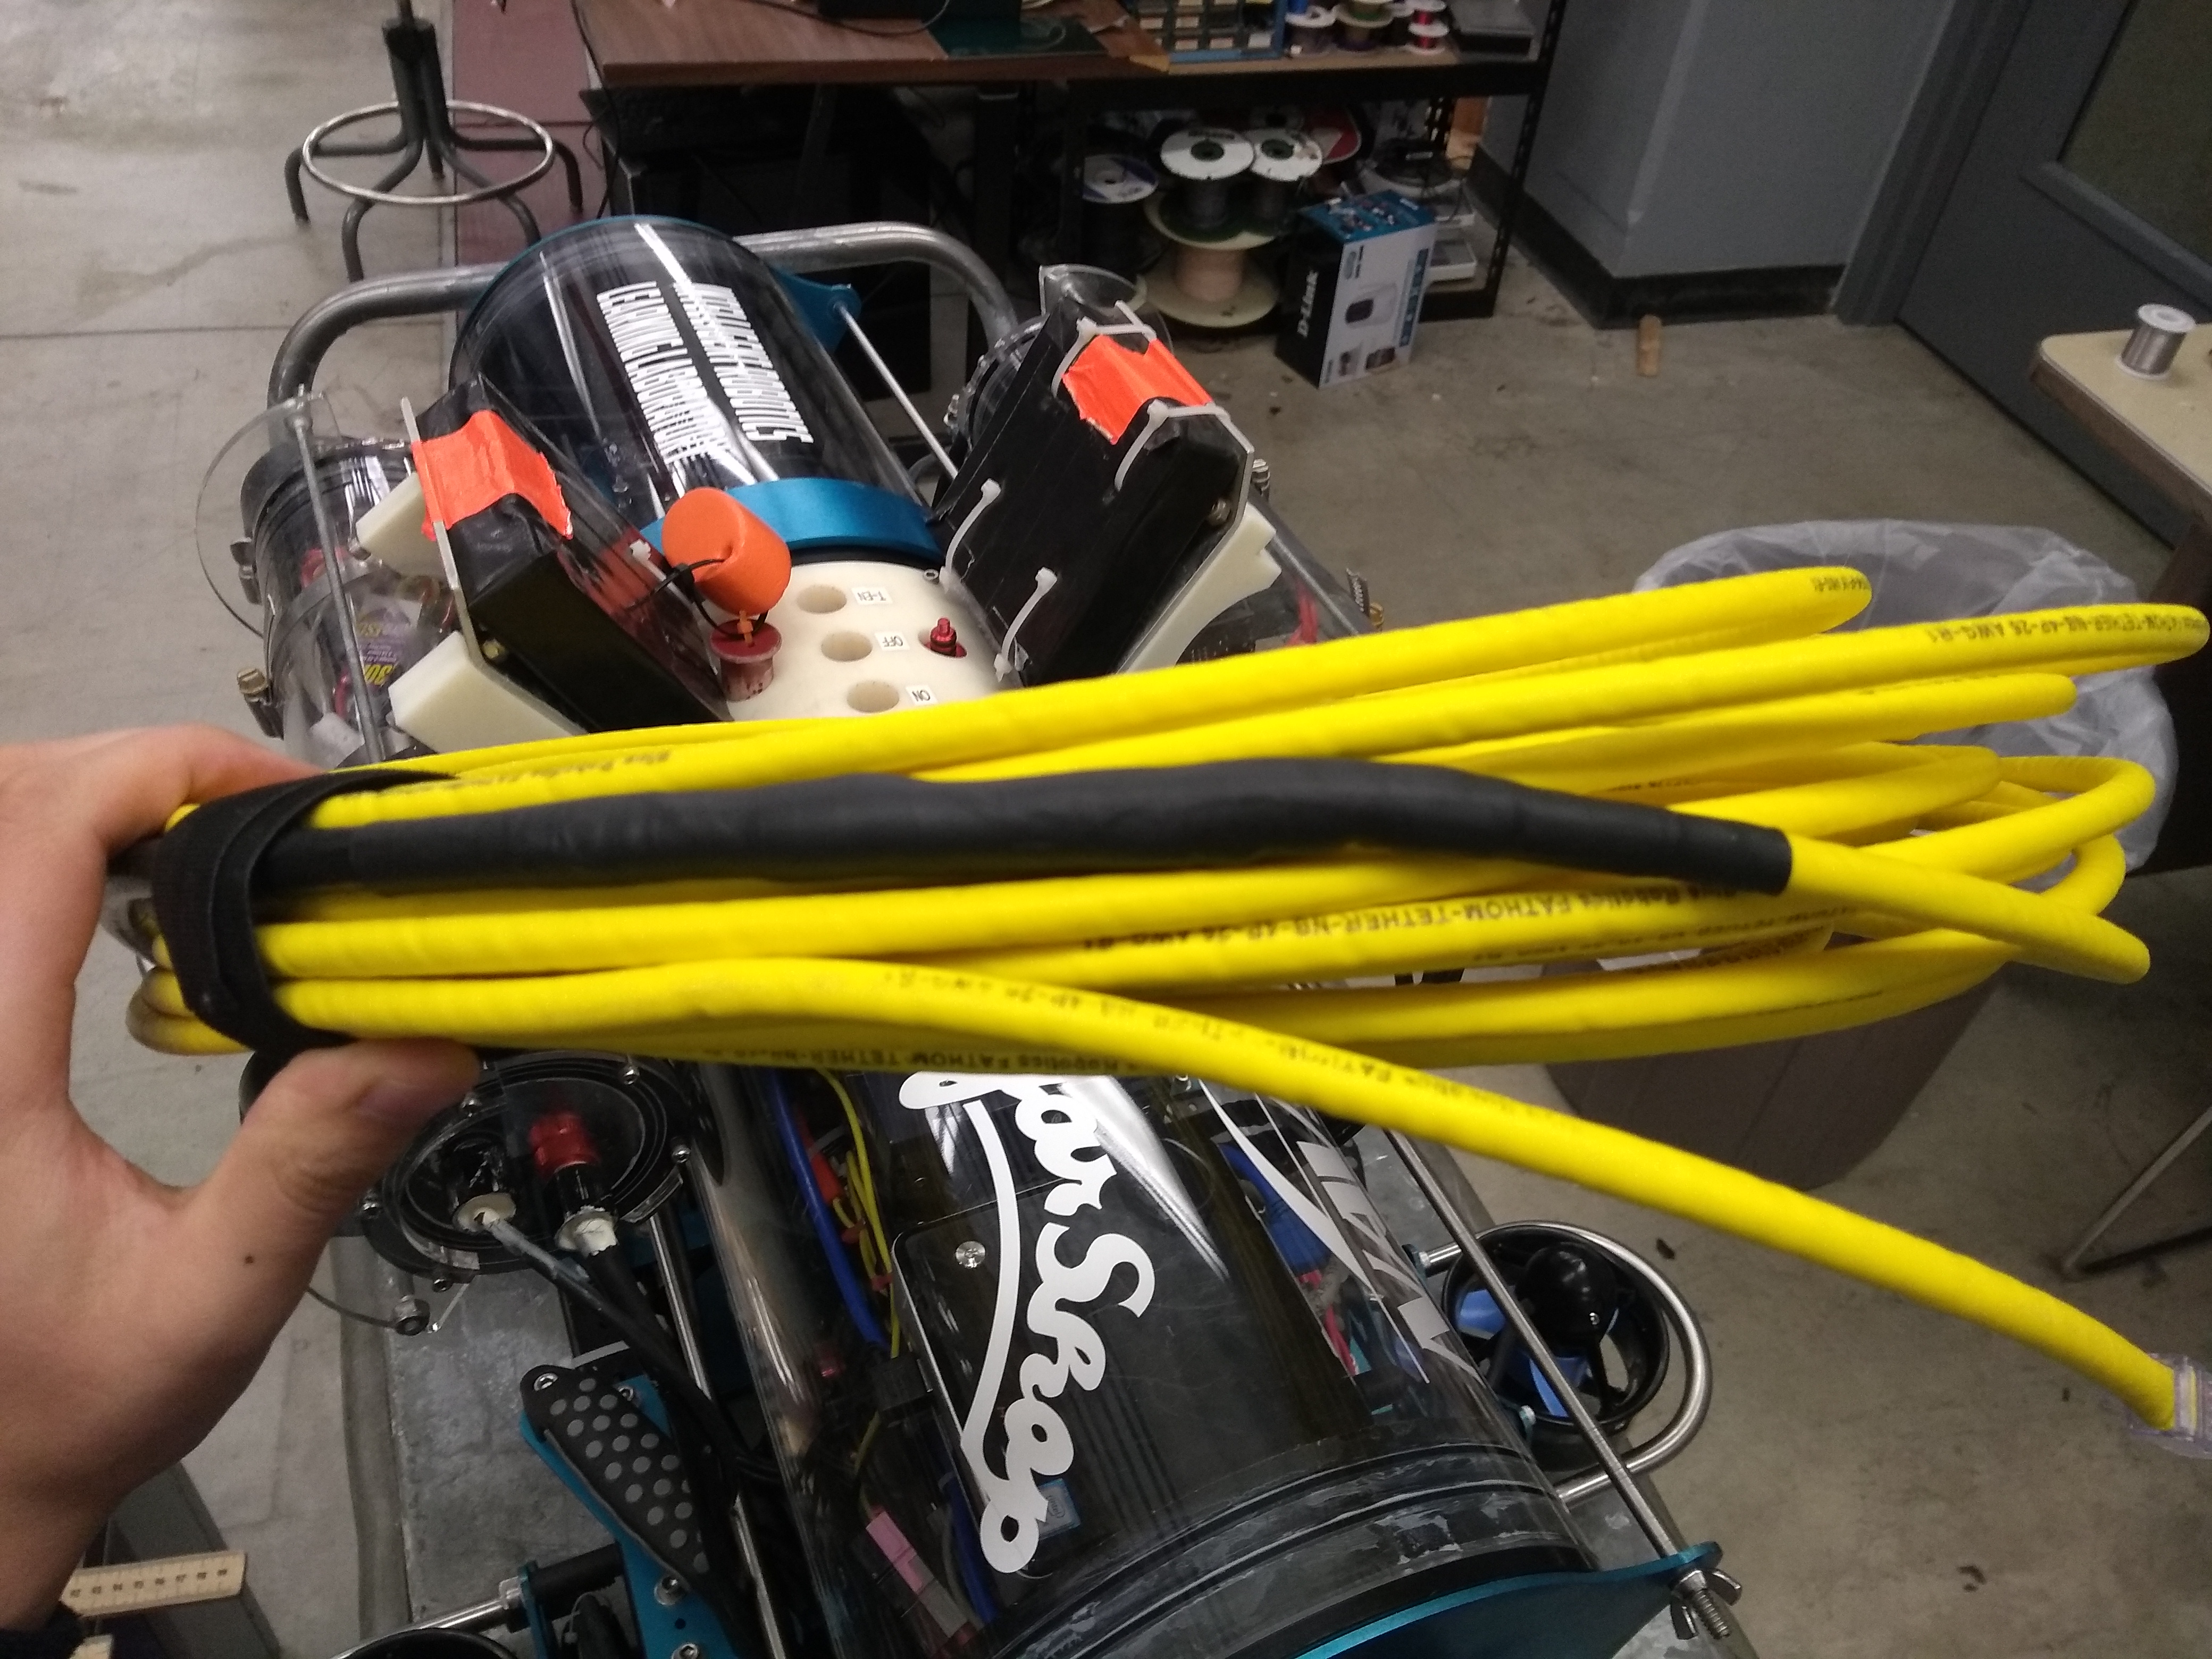
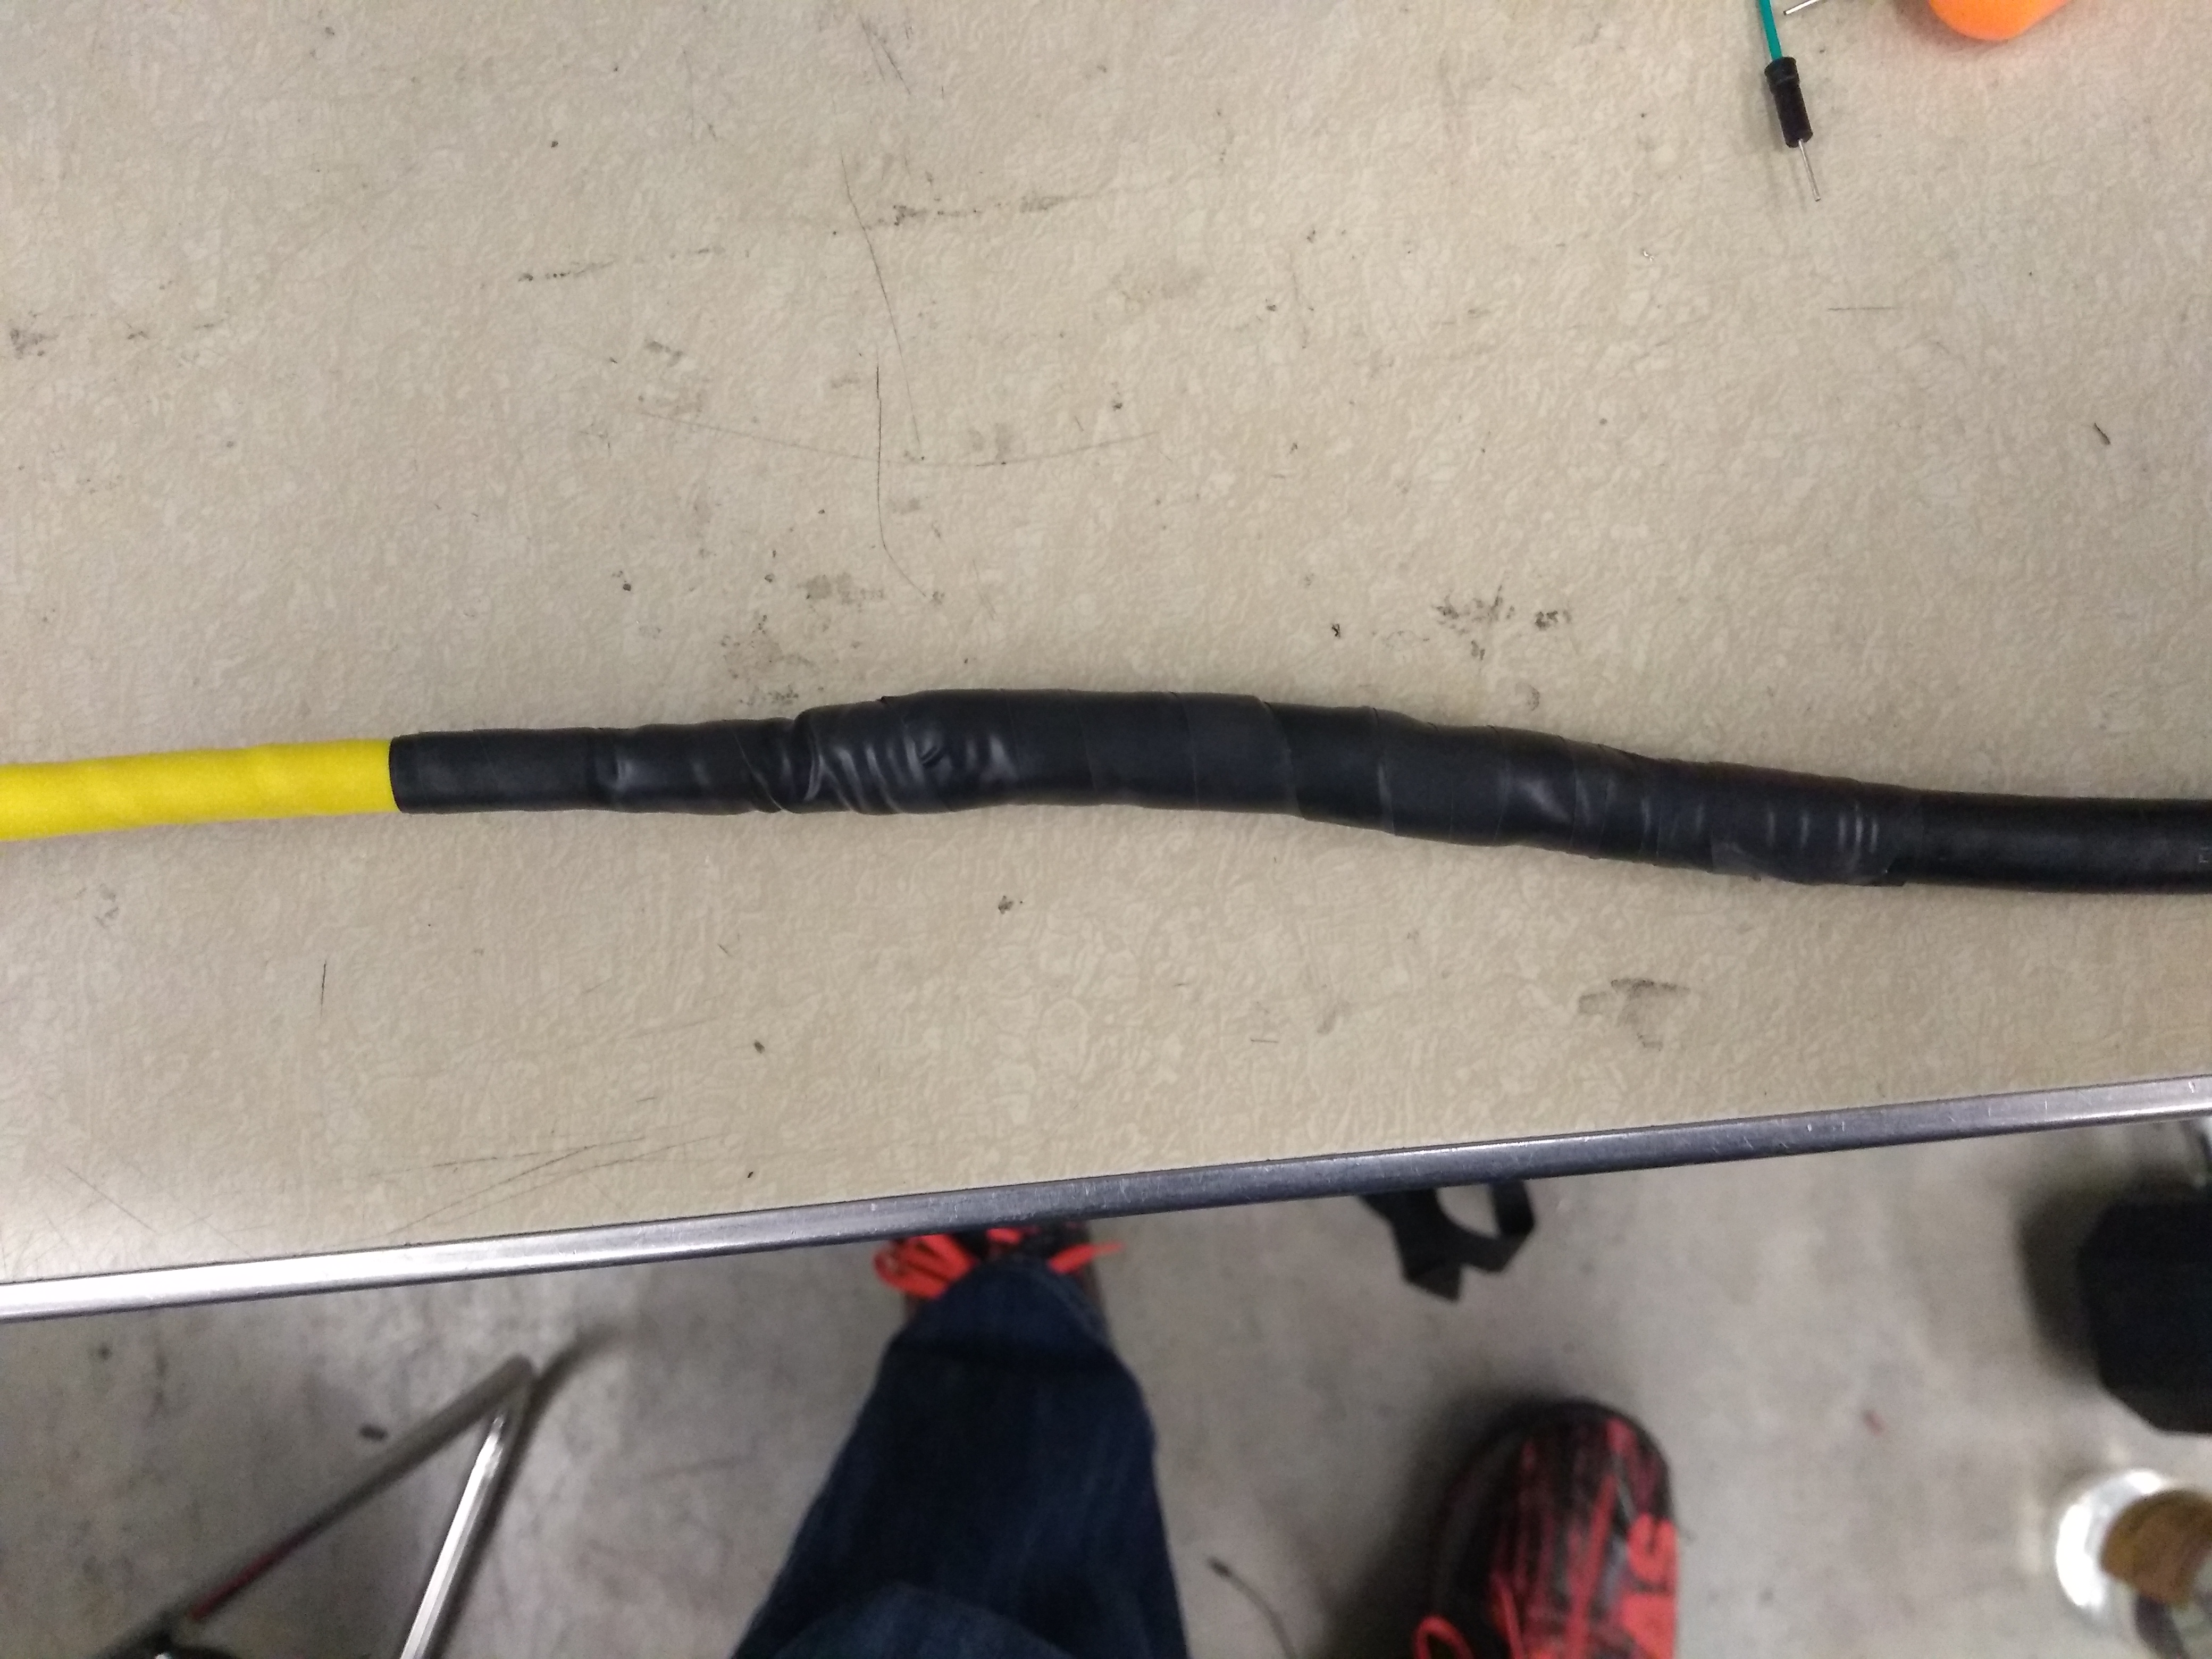
Slide the large heat shrink over the splice and shrink it down with the heat gun at 90 degrees Celsius. Make sure it is completely shrunk down and your done!